Difference between revisions of "The Abyssal Fracture (Extreme)"
Freedom4556 (talk | contribs) (→Images) |
|||
| Line 111: | Line 111: | ||
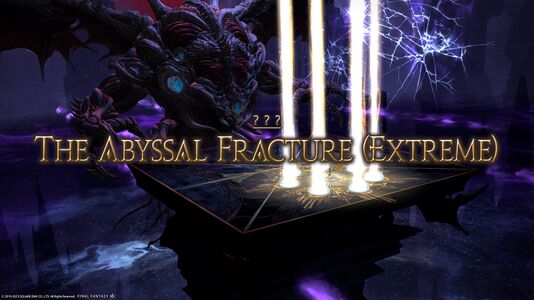
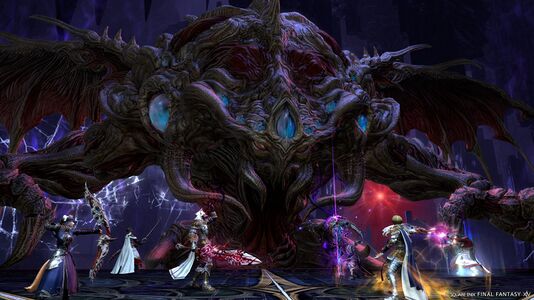
The Abyssal Fracture boss.jpg | The Abyssal Fracture boss.jpg | ||
File:The abyssal fracture (extreme) img1.png | File:The abyssal fracture (extreme) img1.png | ||
File:Zeromus img3.jpg | |||
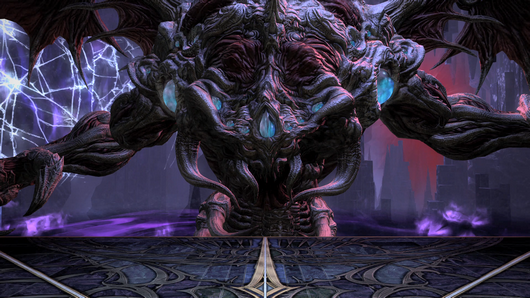
File:Zeromus render.jpg | |||
</gallery> | </gallery> | ||
{{Duties nav|trial}} | {{Duties nav|trial}} | ||
Revision as of 14:37, 19 October 2023
 This article is about the level 90 challenge-mode trial. For the story-mode Main Scenario trial, see The Abyssal Fracture.
The Abyssal Fracture (Extreme)
- Level
- 90
- Item Level
- 640
- Difficulty
- Extreme
- Party size
- Full Party
8 man • 2 2
2  4
4 
- Unsyncing
- Allowed
- Time limit
- 60 minutes
- Duty Finder
- Raid Finder
- Tomestones
- Req. quest
 I Wandered Sharlayan as a Minstrel
- Location
- The Abyssal Fracture
- Region
- ???
- Stone, Sky, Sea
- Available
- Patch
- 6.5
“Fueled by a yearning not its own, the voidsent Zeromus was poised to shatter the barrier between worlds. Its passage would be halted thanks in part to another denizen of the void, one who wielded splendorous Light to change both her fate and that of the Thirteenth. Yet what if Light's refulgence proved too great for this voidsent vagabond steeped in Darkness? Would aught else have stayed Zeromus's hand? These questions and more fuel the Wandering Minstrel's imagination as he weaves his benighted ballad, its measured tones calling your mind back to a most harrowing encounter.
— In-game description
The Abyssal Fracture (Extreme) is a level 90 trial introduced in patch 6.5 with Endwalker.
Guide
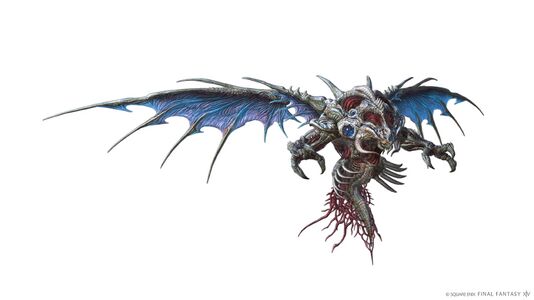
 Insatiable Vessel: Zeromus
Note that players can fall off the arena to their death but can be resurrected after a moderate delay. Players should assign light parties (1 tank, 1 healer, 2 DPS) and corner partners (DPS + support) with tanks/melees going north.
Phase 1
- Abyssal Nox: Reduces everyone to 1 HP and inflicts
 Doom that can be removed by healing to full.
- Meanwhile, multiple rays of light will travel to random cardinals and intercardinals, indicating the locations of large circular AoEs. Dodge in a location without a light ray. Two sets of light rays and AoEs will occur sequentially.
- North will always be safe followed by west, or vice versa.
- Sable Thread: Multi-hit line stack AoE that deals heavy damage, requiring mitigation. The two tanks should stack in front and use personal mitigation as it deals more damage to the two front players.
- Dark Matter: Three-hit AoE tankbuster targeting both tanks. (In contrast to many extreme trials, this does not target the top two enmity players.)
- Visceral Whirl: The boss will place its claws over the arena, telegraphing sets of perpendicular line AoEs, leaving two triangular safe spots.
- After the initial AoEs go off, three X-shaped marks will appear in semi-random locations in the original AoEs. These will each do a cross AoE with from the points of the X, leaving two triangular safe spots in different locations. The AoEs will only have a brief orange indicator.
- Flare: Spawns two tower with a stack marker, one northwest and one southeast. Tanks/melee DPS should take the northwest tower, and healers/ranged DPS should take the southeast tower.
- Each tower will leave behind a large fireball that will damage anyone lingering in it emit several fiery lines, indicating line AoEs. The party should dodge in an area not overlapped by a line.
- Void Bio: Spawns a row of poison orbs (Toxic Bubbles) at the north of the arena, which will gradually begin moving south at various speeds, leaving gaps to dodge through. Anyone hit by these will be inflicted with
 Pollen and take massive damage-over-time, which will likely kill them.
 - The boss casts another Visceral Whirl when the poison orbs are still moving, so the party needs to dodge these while going to the triangular safe spots.
- Big Bang: Spawns spread AoE telegraphs on each player and other circular AoE telegraphs at semi-random locations during the cast. The spread AoEs inflict
 Magic Vulnerability Up, making overlap lethal. The attack itself deals high raidwide damage that should be mitigated and transitions the arena. Inflicts several debuffs:
 Big Bounce (all players): Deals damage-over-time
 Acceleration Bomb (all players): When the debuff timer expires, the player must remain still and not attack, or they will take damage and be knocked up in the air. There will be an overhead timer when the debuff is about to expire.
 Divisive Dark (all players): Telegraphed spread AoE that inflicts
  Magic Vulnerability Up.
 Beckoning Dark (1 non-tank player): Stack AoE that inflicts
  Magic Vulnerability Up.
 Forked Lightning (2 DPS): Spread AoE that resolves at the same time as
  Beckoning Dark and inflicts
  Magic Vulnerability Up.
 HP Penalty (all players): Reduces everyone's maximum HP by around 25%.
Loot
- See also: Voidvessel Weapons
- Each player will receive 2 Voidvessel Totems per kill. Collect 10 tokens to exchange for a weapon at Nesvaaz in Radz-at-Han (X:10.6 Y:10.0).
 25 Allagan Tomestone of Causality
 15 Allagan Tomestone of Comedy
- Zeromus Card (Drops at a fixed rate.)
 Treasure Coffer
Achievements
This duty is associated with the following achievements:
| Name | Points | Task | Reward | Patch |
|---|---|---|---|---|
| Dusk to Dusk | 10 | Defeat Zeromus in the Abyssal Fracture (Extreme). | - | 6.5 |

