Difference between revisions of "Battle on the Big Bridge"
m (→Lore) |
|||
| Line 1: | Line 1: | ||
{{Dungeon Infobox | |||
|name= Battle on the Big Bridge | |||
|image= [[File:gilgamesh4.jpg|300px]] | |||
|type=trial | |||
|patch=2.2 | |||
|level=50 | |||
|ilevel=50 | |||
|player=8 (2 Tank / 2 Healer / 4 DPS) | |||
|time=60 Minutes | |||
|roulette=trial | |||
|tomestone=[[File:Poetics icon1.png|link=Allagan Tomestone of Poetics|20px|Allagan Tomestone of Poetics]] 10 | |||
|entrance= | |||
|questtype= side | |||
|quest= [[The Three Collectors]] | |||
|boss= [[Gilgamesh]] | |||
}} | |||
{{see also|Battle in the Big Keep}} | {{see also|Battle in the Big Keep}} | ||
{{Quote|In his quest to acquire the strongest of weapons, the notorious duelist Gilgamesh has long eluded authorities - until now. Forced to take a stand at the impassable Griffin Crossing, he has challenged you to a "duel." Triumph, and he shall yield his latest prize. But should you fail, your weapons are forfeit.|Game Description}} | |||
*The | ==Unlock== | ||
*'''Quest:''' [[The Three Collectors]] | |||
*'''Quest-giver Location:''' [[Hildibrand]] - [[Western Thanalan]] (x12,y13) | |||
*'''Prerequisites:''' [[Manderville Men]] | |||
==Strategy== | ==Strategy== | ||
| Line 16: | Line 34: | ||
==Images== | ==Images== | ||
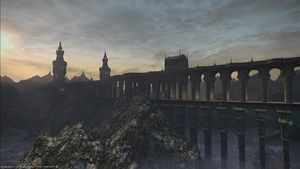
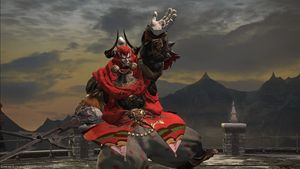
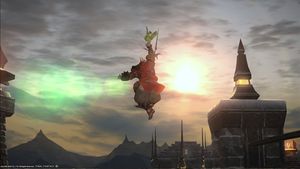
[[File:gilgamesh3.jpg|300px]] [[File:gilgamesh5.jpg|300px]] [[File:gilgamesh6.jpg|300px]] | [[File:gilgamesh3.jpg|300px]] [[File:gilgamesh5.jpg|300px]] [[File:gilgamesh6.jpg|300px]] | ||
{{trials}} | {{trials}} | ||
Revision as of 03:12, 7 November 2015
- See also: Battle in the Big Keep
"In his quest to acquire the strongest of weapons, the notorious duelist Gilgamesh has long eluded authorities - until now. Forced to take a stand at the impassable Griffin Crossing, he has challenged you to a "duel." Triumph, and he shall yield his latest prize. But should you fail, your weapons are forfeit." — Game Description
Unlock
- Quest: The Three Collectors
- Quest-giver Location: Hildibrand - Western Thanalan (x12,y13)
- Prerequisites: Manderville Men
Strategy
Phase 1
Periodically, Gilgamesh will turn one of the players into a toad. That player cannot attack or use any abilities and the green chicken will chase and attack the player, dealing significant damage to them. Gilgamesh has a frontal cone AoE attack that has fairly long cast time. It can be easily avoided by moving out of the way. He also has a circular AoE around himself that can also be avoided by moving out of the way.
Phase 2
At around 30% HP, Gilgamesh will run across the bridge into the 2nd column. Players need to pursue him and defeat 2 packs of adds on the way. In the second boss room there are a number of chickens instead of just one. Periodically, Gilgamesh will turn multiple players into toads. Each chicken in the room will attack one of the toads. Gilgamesh will also confuse players, making them attack their own teammates. Players must heal the affected player to max to remove the confusion debuff. He will also turn multiple players into miniature versions of themselves, reducing their damage dealt and increasing their damage taken. Around the boss room, numerous whirlwinds appear, players should avoid them. When Gilgamesh targets a player, he will then jump to that player, dealing damage to them.


